DynaTrace Webhook configuration
Once the beacon is generated, copy the Webhook URL in the General section to paste later on your Dynatrace account.
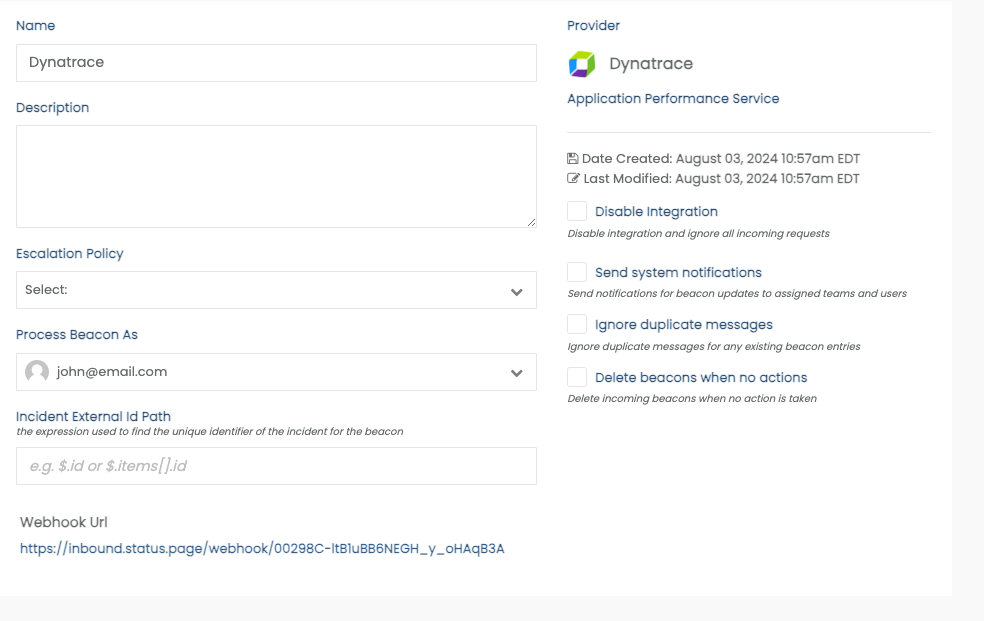
Then log into your Dynatrace account and navigate to Settings > Integration > Problem notifications and click Add notification. Here you need to add a new Webhook/URL endpoint; the URL of the action is unique to your Statuscast application, paste in the Webhook URL field.
Give your new Webhook integration a Display Name within Dynatrace and then goto the Custom payload field. Dynatrace is very flexible and allows you to determine what is sent to StatusCast, in general the minimum amount of information should include a current state or status and something that you can link to a component within your StatusCast account.
Example
{
  "ImpactedEntities": {ImpactedEntities},
  "ProblemID": "{ProblemID}",
  "ProblemImpact": "{ProblemImpact}",
  "ProblemTitle": "{ProblemTitle}",
  "State": "{State}"
}
In the above example the "State" and "ImpactedEntities" data tell us what is impacted and whether its up or down. For more information and additional examples of what Dynatrace can pass through webhooks please visit their documentation here.
With that saved, when an incident occurs Dynatrace will communicate that information to StatusCast.
Updated over 1 year ago