Pingdom Metrics Integration
StatusCast provides the perfect way to communicate application downtime and scheduled maintenance with your end-users.
ADD PINGDOM METRICS TO YOUR STATUS PAGE
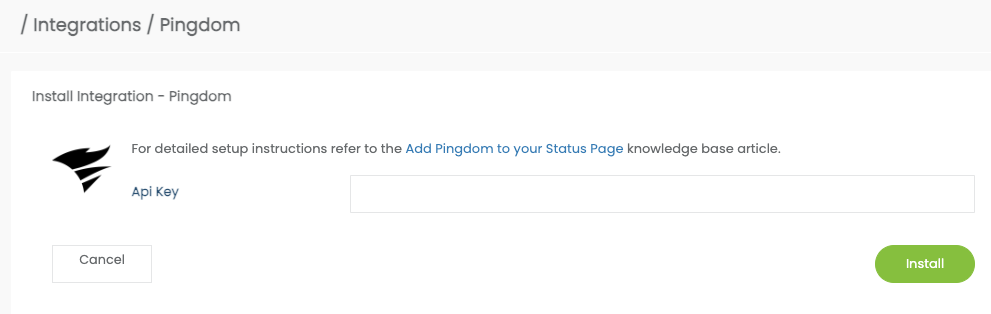
StatusCast also allows you to post Pingdom based metrics to your status page, to do this you’ll need to log in Pingdom and your application(API) key. This should be located in Sharing > The Pingdom API section. Once you have your application key, navigate back to your StatusCast admin portal and go to the Integrations section. Select Install below the Pingdom card.

Enter your application key and select Install once more.
Add Pingdom to Metrics in Statuscast
Then add Pingdom to your list of Metric Providers. This is done by going to Settings > Settings > Metrics and clicking on NEW METRICS.

Then select Pingdom from the Type dropdown and fill in the other fields and click CREATE.

Add the Metrics Widget to your page
Now StatusCast is receiving metric information, to add it to your status page navigate to the Page Design section by clicking the blue badge on your status page.

From the Edit Page widget on the right, drag the Metrics widget and drop it into your Page Layout.

Configure the Metrics Widget
Next select the edit icon then search and select Pingdom from the 'Metric to display' dropdown under the General tab. Then fill out the Time range field and click Apply.

To apply the changes to the metric configuration, click 'Save Changes' in the Edit Page widget and click Exit Editing to exit to your StatusCast status page to see your Pingdom metric in action!
Updated over 1 year ago