Incident Templates
How to use Incident Templates
Use Templates to create an Incident
Templates appear in the Incident Title Dropdown menu. To get to this page, click the yellow create incident button.
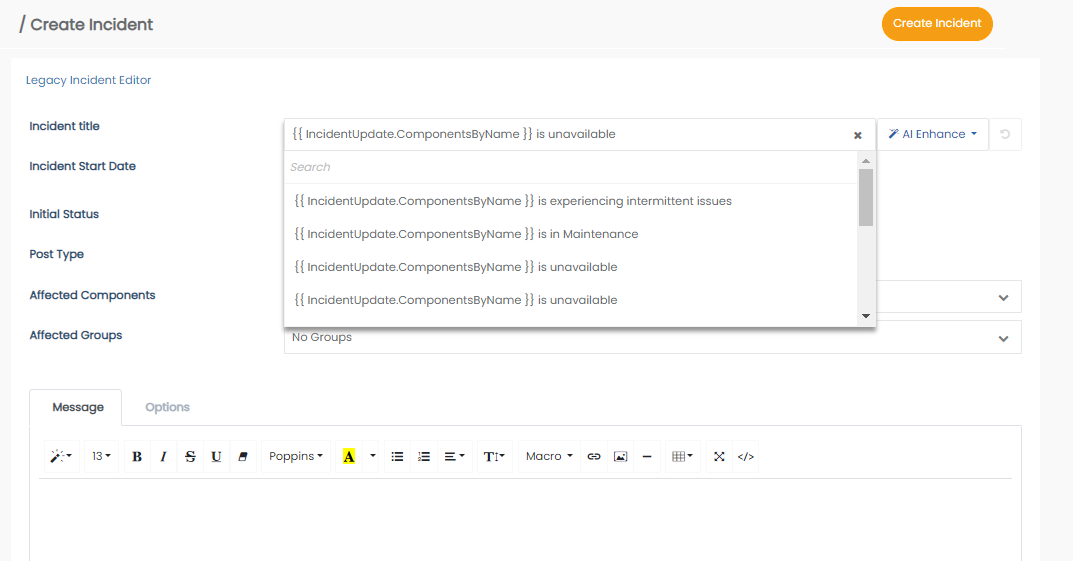
After selecting a template, the message type and text will be automatically pre-filled with the content that was written from within your template.
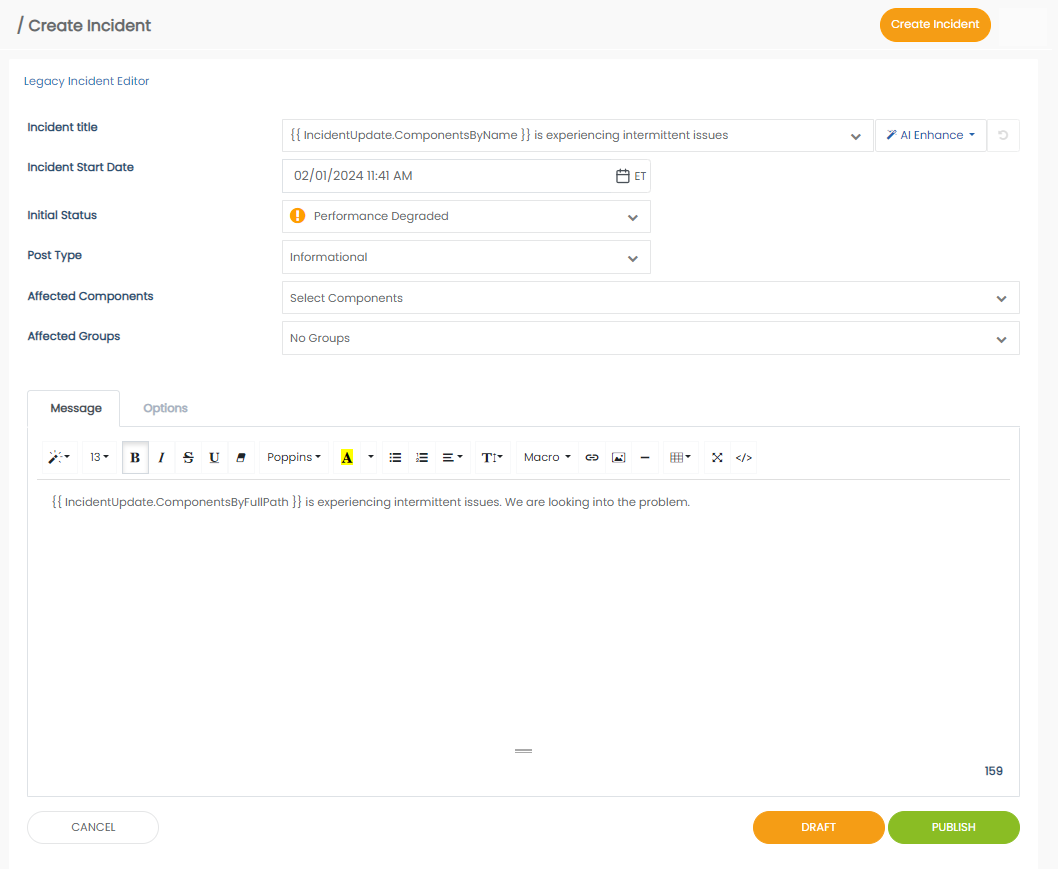
From here your initial status will be set by the template. This can be changed if needed, but usually the template is written for the specific circumstance, so check carefully prior to making any changes.
The post type may be modified, but in most cases, will be informational. Some companies do not vary post types, so you may not see an option in your incident creation space.
Component Selection
Selecting the affected component is the most critical. This will show the affected system or systems for the incident. Be sure to select your component carefully.
Groups
If you are using groups, the component selection will automatically set the affected groups, so you should not need to make changes here.
Updating or Resolving Incidents using Templates
Templates are also useful in the case where you want to update or resolve an existing ongoing incident. From the Incidents list, you can quickly access these functions:
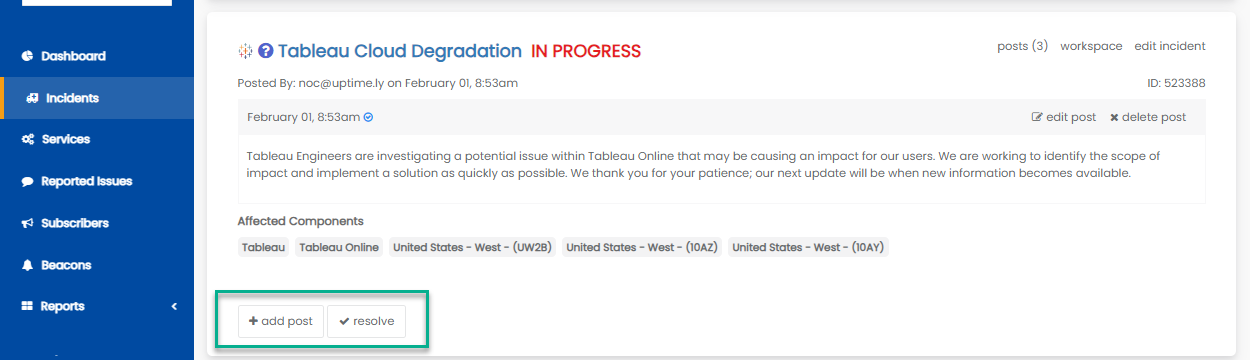
Open Incidents
Use the + Post Update button to quickly update the incident. You can select from the update or resolve templates here. This dropdown menu will allow you to choose from a selection of customized templates. The selection you make will fill in the text editor with your tailored message.
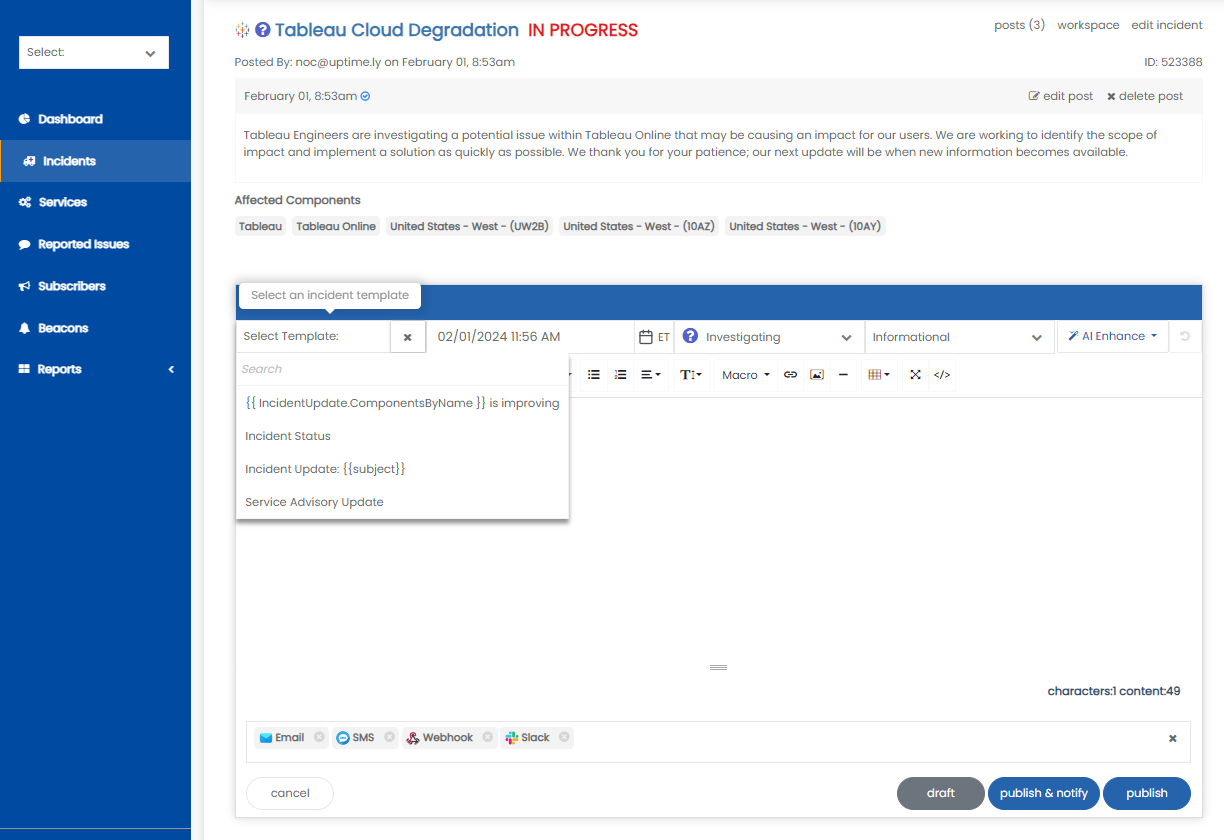
Update post for open incidents
Notice the publish and publish and notify buttons. Be sure to choose whether or not to send notifications.
If there is a mistake in your post, don't panic. After posting an update, you have the ability to either edit or delete the incident..

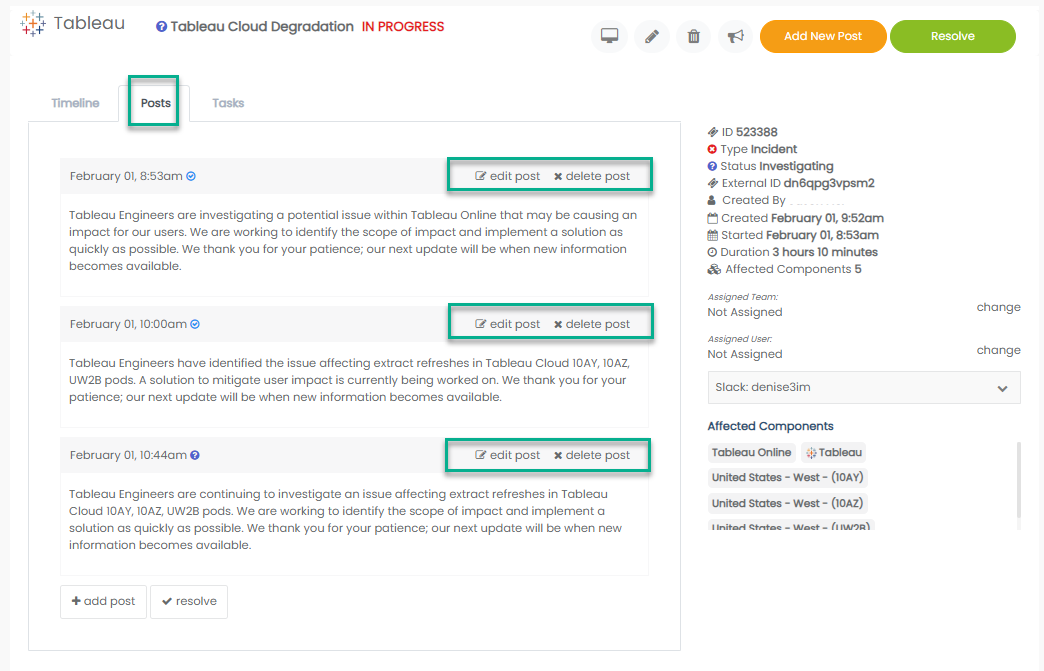
Within the Incident workspace, you can also edit or delete specific posts within the incident:
Updated over 1 year ago