Pingdom Webhook configuration
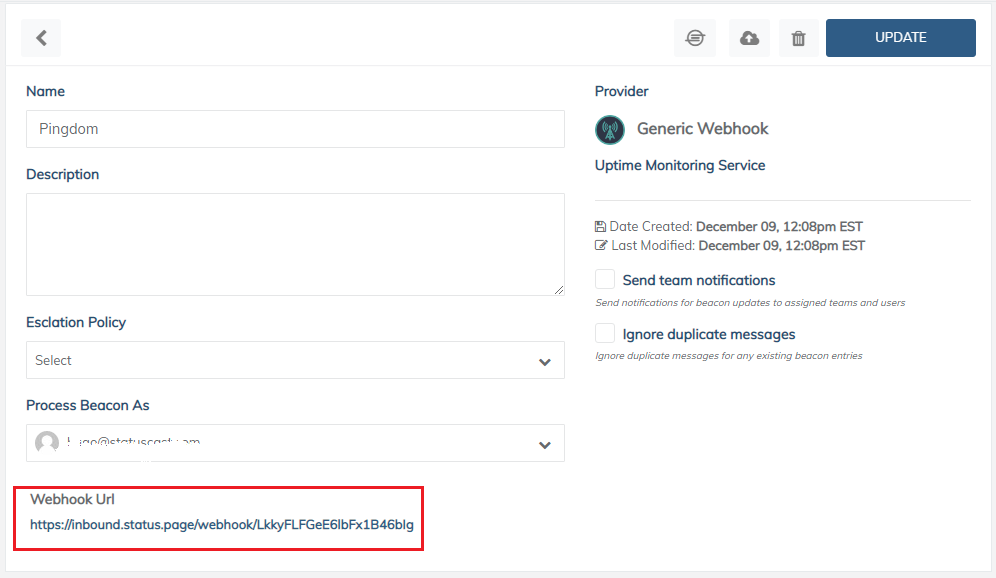
Once the beacon is generated, copy the Webhook URL in the General section to paste later on your Pingdom account.

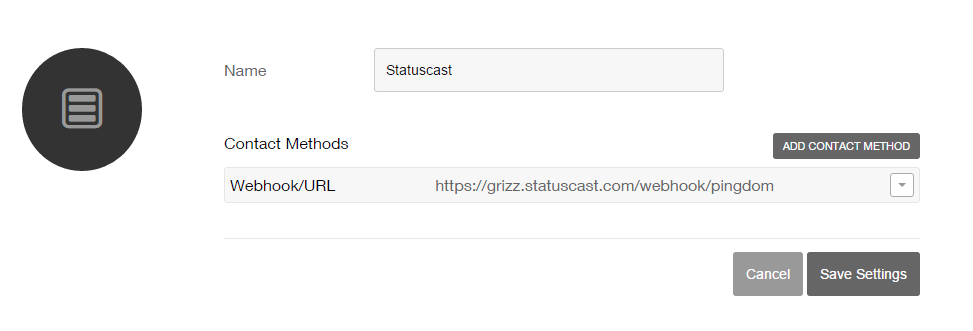
Then log into your Pingdom account and navigate to the Alerting > Alerting Endpoints section. Here you need to add a new Webhook/URL endpoint; the URL of the action is unique to your Statuscast application, paste in the Webhook URL in the corresponding field:

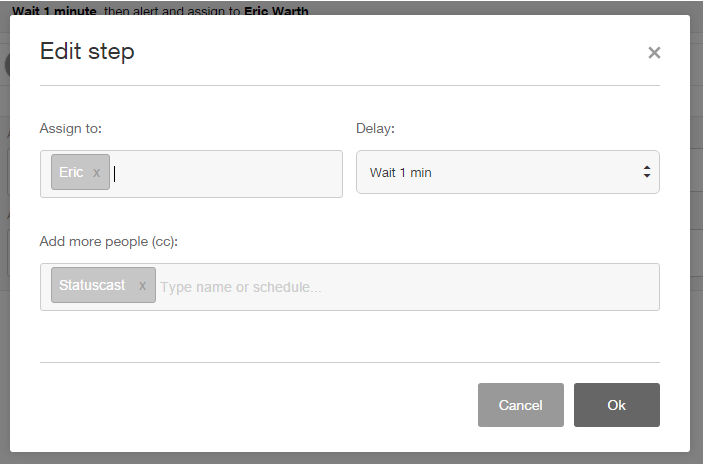
With that saved you will need to add this new Webhook endpoint to the alert policies you in place, navigate to the Alerting > Alert Policies section. Simply select Edit and add the endpoint in the Add more people(cc): option.

Save your policy, now when an incident occurs Pingdom will communicate that information to StatusCast. The last step while signed into your Pingdom account is to copy any monitor name that you’d like to automatically create an incident in StatusCast.

Note: In my example above the site name I would copy is US East CDN
Updated 11 months ago
