Incident Creation
Post a New Incident or Status
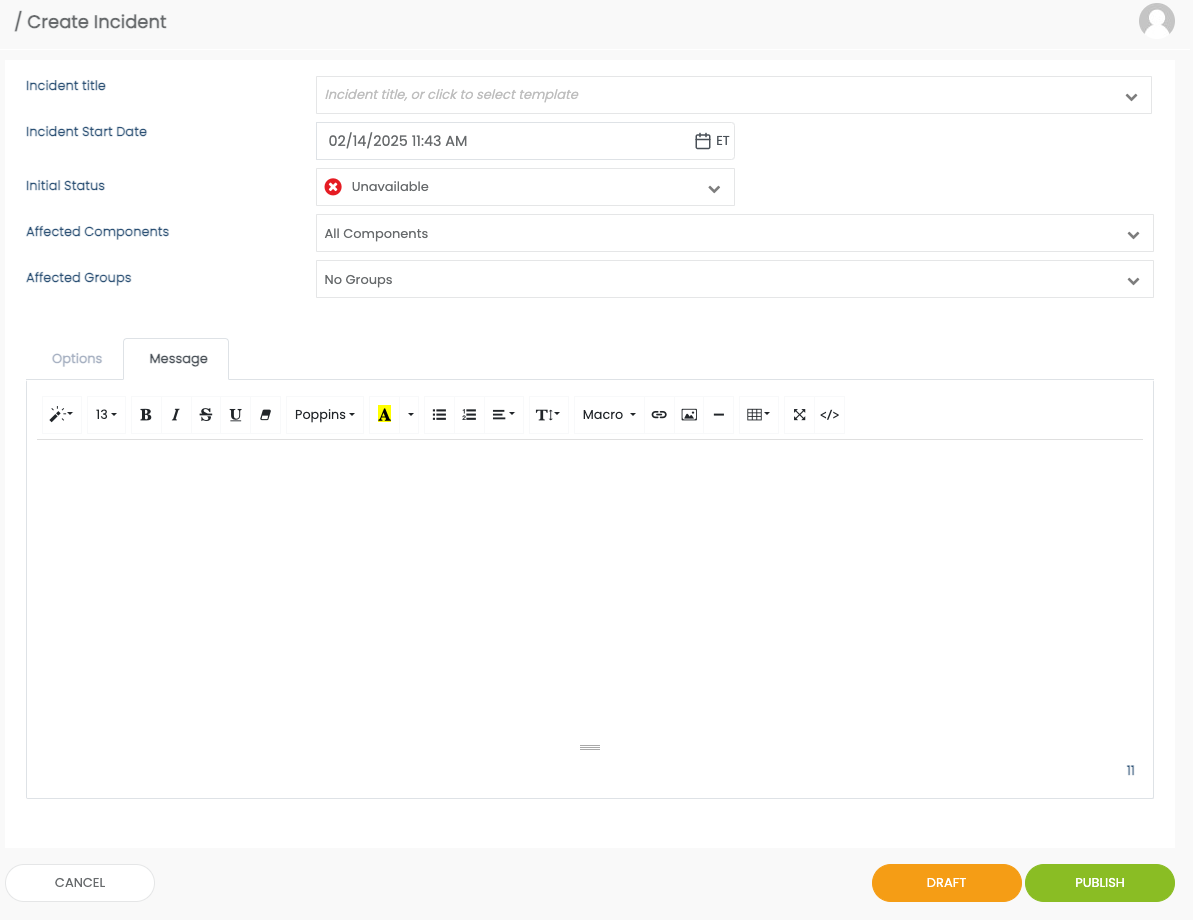
To create a new incident, from anywhere within on the admin portal click on Create Incident in the upper right corner.
Creating an incident or maintenance requires you to enter the following information:
| Property | Description |
|---|---|
| Title | The title of the event as seen on the status page and in the admin portal. Use the title field also select a Content Template to apply to your event. Read more on Content Templates here. |
| Start Date | The date/time that your event started. Choosing a date in the future will mark your event as a maintenance. Choosing a date in the past will give you the option to mark the event as already resolved |
| Initial Status | The initial component status of your event |
| Affected Components | Which service components are affected by the event |
| Affected Groups* | Which groups are effected by the event. Groups will be auto-selected based on components and can be manually overwritten. Affected groups is only visible if your account has access to this feature. |
| Message | The message of your event |
Incident Options
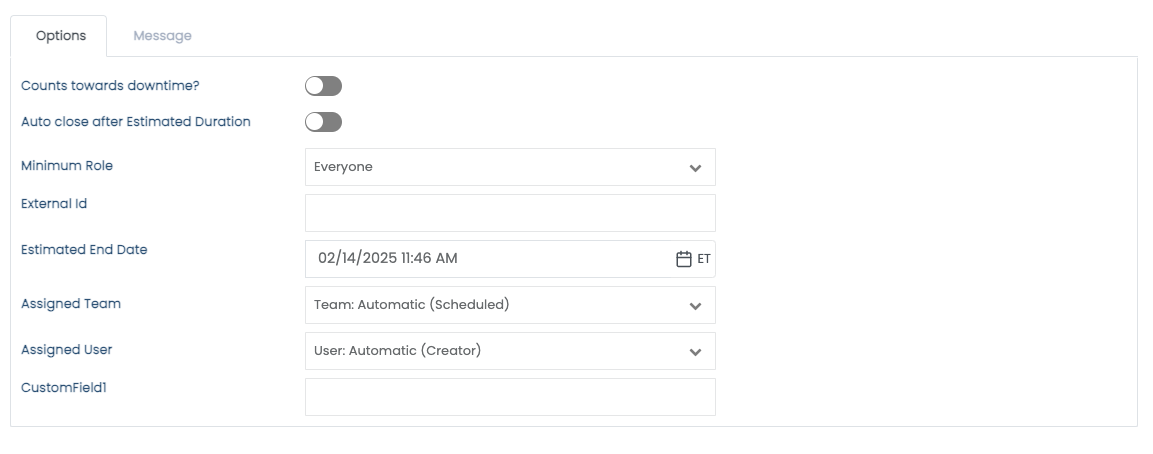
There are additional options that you can set on your event by selecting the Options tab
| Field | Options |
|---|---|
| Count Towards Downtime | Choose whether this event should count against your pages uptime percentage. |
| Auto close after Estimated Duration | Set this event to automatically close |
| Minimum Role | The roles who can see the incident can be defined here, anyone with a lower role than the one selected will not see or be notified of the incident |
| External ID | If you have a specific ID for your incidents that you wish to reference on top of StatusCast's default generated ID place here. |
| Estimated End Date | The estimated end date for an event, often used for maintenances. If you are creating an event and intend it to be closed overall use this with Auto close after Estimated Duration |
| Assigned Team | The team that will be assigned this event in StatusCast. |
| Assigned User | The user that will be assigned this event. |
| Custom Fields | If custom fields have been added to the account then they will be displayed here. Custom fields can be left empty without a value filled in. |
Once you have filled in your incident's information you can either click Draft to save this event as a draft in your account(not published to your page) or click Publish to make the event live and potentially send out notifications. If you choose to publish then you will be first asked what type of notifications(if any) do you want to send:

The channels here will default to what you have set in the Settings > Incidents >Default Notifications area of the admin portal. Click Next once you have made you selection and you will be given a summary to review

Review your event and then click Publish to make it live! Once published it will appear to relevant parties on the status page and notifications will be sent to the channels that you specified.
Updated over 1 year ago